
How to Replace Door Handle?
Estimate Time
60-90 min
Skill Level
Beginner
Tools Required
6-8 Tools
Update
July | 2026
Introduction
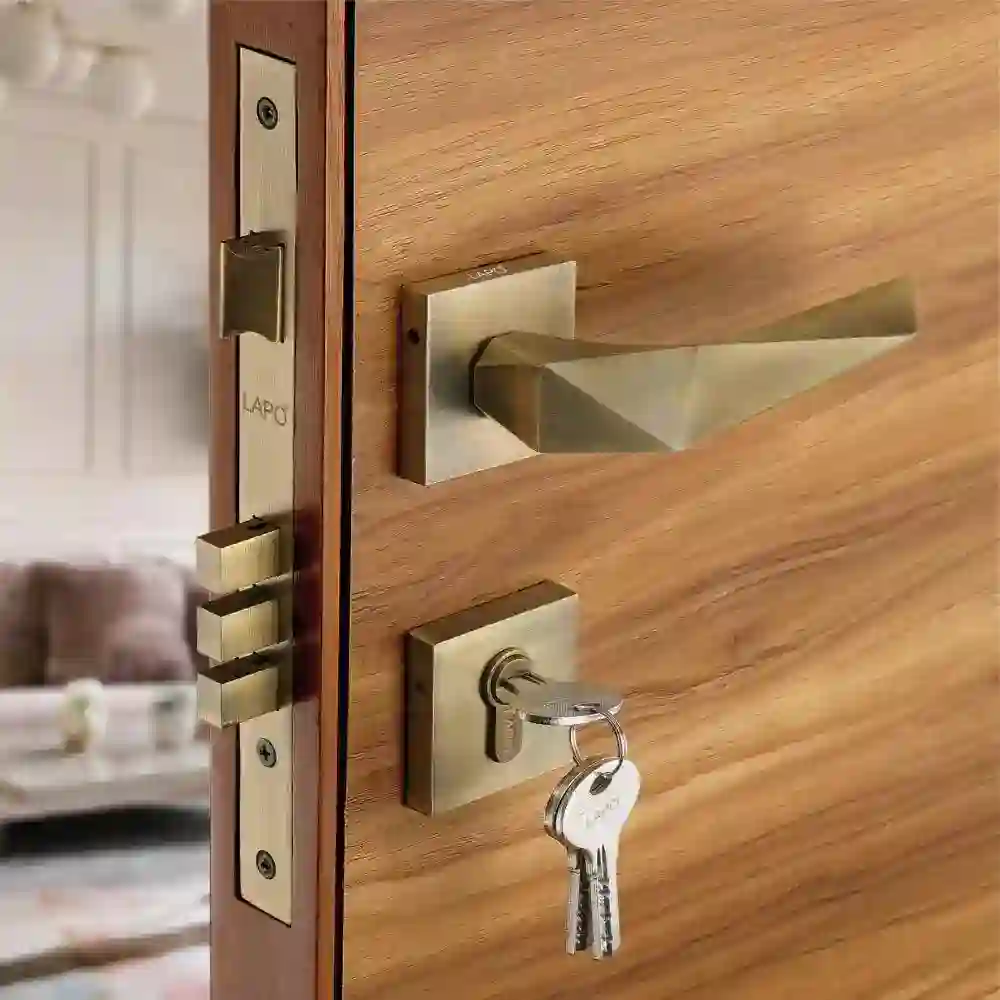
A loose, damaged, or outdated door handle can affect your home’s security, convenience, and overall appearance. Fortunately, replacing a door handle is one of the easiest DIY home improvement projects and can be completed in 30–60 minutes using a few basic tools.
Whether you need to replace an interior door handle, install a new exterior door handle, or upgrade an old door lockset, following the correct installation process is essential.
In this complete guide, you’ll learn how to replace a door handle step by step, including how to remove the old handle, install a new lever door handle, align the door latch, measure the backset, and avoid common installation mistakes. By the end of this tutorial, you’ll have a secure, smooth-operating door with professionally installed door hardware
Signs Your Door Handle Needs Replacement
A door handle is one of the most frequently used parts of any door, so it’s natural for it to wear out over time. Ignoring early warning signs can lead to a faulty door latch, poor security, and expensive repairs.
If you notice any of the following issues, it’s time to consider a door handle replacement or install a new door lockset.
- Loose or Wobbly Handle
- Door Latch Doesn't Retract Properly
- Rust, Corrosion, or Visible Damage
- Difficulty Locking or Unlocking door
- Broken or Cracked Door Handle
- Handle does not turn smoothly
- Outdated Design
Tools & Materials You'll Need
Before you begin the door handle replacement, gather all the necessary tools and materials to make the installation process quick and hassle-free.
Using the right door hardware tools not only saves time but also helps ensure your new door handle is installed securely and functions properly.
Tools
Phillips Screwdriver
Remove and tighten the mounting screws.
Tape Measure
Measure the door thickness and backset for the correct replacement handle.
Power Drill
Speeds up screw removal and installation.
Utility Knife
Cut away paint or sealant around the handle if needed.
L Key
Removes set screws found on some lever door handles.
Material
New Door Handle Set
Replaces the old or damaged door handle..
Mounting Screws
Secure the new door hardware firmly in place.
Lubricant
Keeps the door latch operating smoothly.
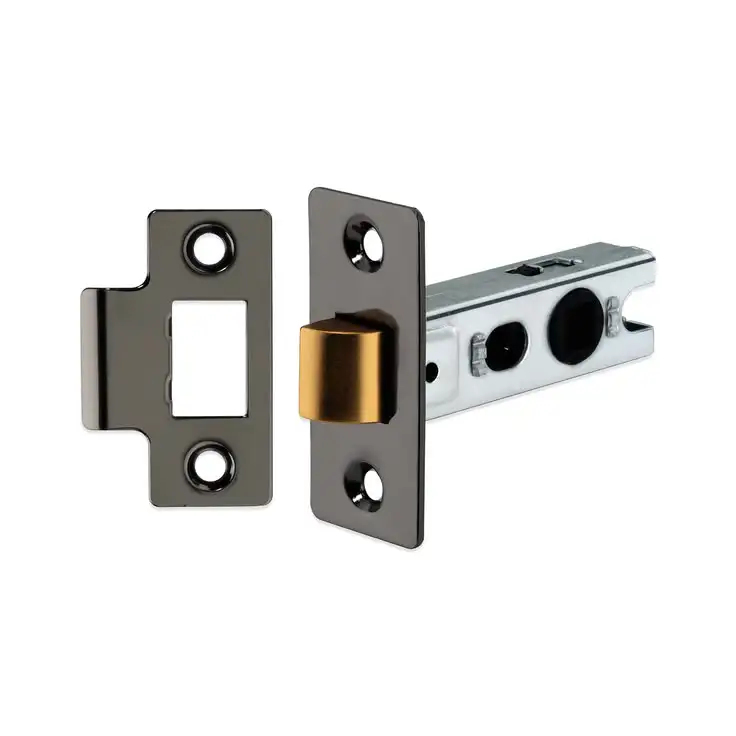
Door Latch
Ensures smooth opening, closing, and secure locking of the door.
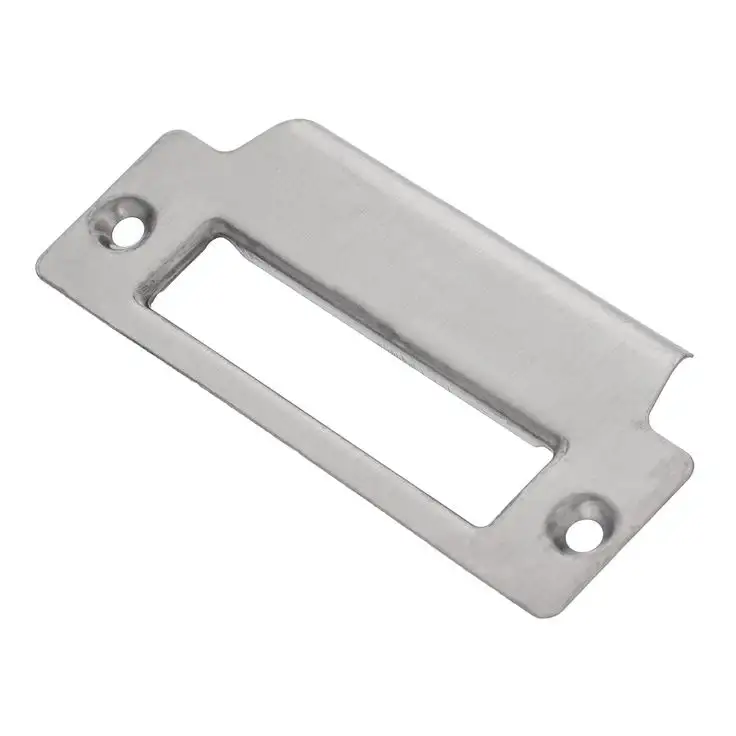
Strike Plate
Aligns the latch properly with the door frame for secure closure.
Benefits of Replacing a Door Handle
Replacing a door handle is a simple yet effective DIY home improvement project that enhances your home’s security, functionality, and appearance. Whether you’re planning a door handle replacement
due to wear and tear or upgrading to modern door hardware, installing a new door handle set offers several long-term benefits
Improved Home Security
A new door handle with a reliable door lockset and latch mechanism provides better protection against forced entry. Replacing an old or damaged handle ensures your door locks securely and operates as intended.
Smooth & Reliable Operation
Over time, worn door handles can become loose, stiff, or difficult to use. A quality replacement door handle eliminates sticking, improves the door latch performance, and allows the door to open and close smoothly.
Enhances Your Home's Appearance
Upgrading an outdated interior door handle or exterior door handle instantly gives your home a fresh, modern look. New door hardware is available in a variety of styles and finishes to complement any décor.
Long-Lasting Performance
High-quality door handles, durable mounting hardware, and a properly installed door latch offer reliable performance for years with minimal maintenance.
Expert Tip
When performing a door handle replacement, it's a good idea to replace the strike plate and inspect the latch mechanism for the best fit, smoother operation, and improved security.
How to Replace a Door Handle
Replacing a door handle is a straightforward DIY project that requires only a few basic tools. Follow these steps carefully to install your new door handle correctly and ensure smooth operation.
Remove the Old Door Handle
Use a Phillips screwdriver to remove the mounting screws from the existing door handle. Once the screws are removed, gently pull both sides of the handle apart and slide them out of the door.
💡 Tip: Keep the screws in a small container to avoid losing them.
Remove the Old Door Latch
Unscrew the door latch from the edge of the door using a screwdriver. Carefully pull the latch mechanism out and inspect the opening for dust, debris, or damage.
✔ Check: Clean the latch hole before installing the new one.
Measure the Door
Before installing the new door handle set, measure the following:
Door thickness
Backset measurement
Bore hole diameter
These measurements ensure your replacement door handle fits perfectly.
Install the New Door Latch
Insert the new door latch into the edge of the door with the angled side facing the direction the door closes. Secure it firmly using the supplied screws.
⚠ Note: Installing the latch backward may prevent the door from closing properly.
Insert the New Door Handle
Slide the spindle through the latch and align both sides of the door handle. Ensure all screw holes line up correctly before tightening.
Tighten the Mounting Screws
Use a screwdriver to tighten each screw evenly. Avoid overtightening, as it can affect the alignment and smooth movement of the lever door handle.
Test the Door Handle
Turn the handle several times to check that the door latch retracts smoothly. Close and open the door to ensure proper alignment with the strike plate and verify that the lock functions correctly.
🎉 Congratulations! Your door handle replacement is now complete, and your door should open, close, and lock smoothly.
Common Mistakes to Avoid When Replacing a Door Handle
Replacing a door handle is a simple DIY task, but even small mistakes can lead to poor alignment, loose hardware, or a door that won’t lock properly. Avoid these common errors to ensure a smooth and secure door handle installation.
❌ Buying the Wrong Door Handle Size
❌ Installing the Door Latch Backwards
❌ Overtightening the Screws
❌ Forgetting to Test the Handle
❌ Reusing Worn-Out Hardware
Maintenance Tips for Your New Door Handle
Proper maintenance helps extend the life of your door handle, door hardware, and door lockset while keeping the mechanism operating smoothly.
- Clean the handle regularly with a soft cloth
- Lubricate the door latch every 6–12 months.
- Tighten loose screws during routine inspections.
- Avoid using harsh chemicals that may damage the finish.
- Replace worn parts before they cause larger problems.
- Check the alignment of the strike plate if the door becomes difficult to close.
Types of Door Handles
Choosing the right door handle is just as important as installing it correctly. Different door handle types are designed for specific doors, security needs, and interior styles.
Whether you’re replacing an interior door handle, upgrading an entry door handle, or installing new door hardware, understanding each type will help you make the right choice.
Top Recommended
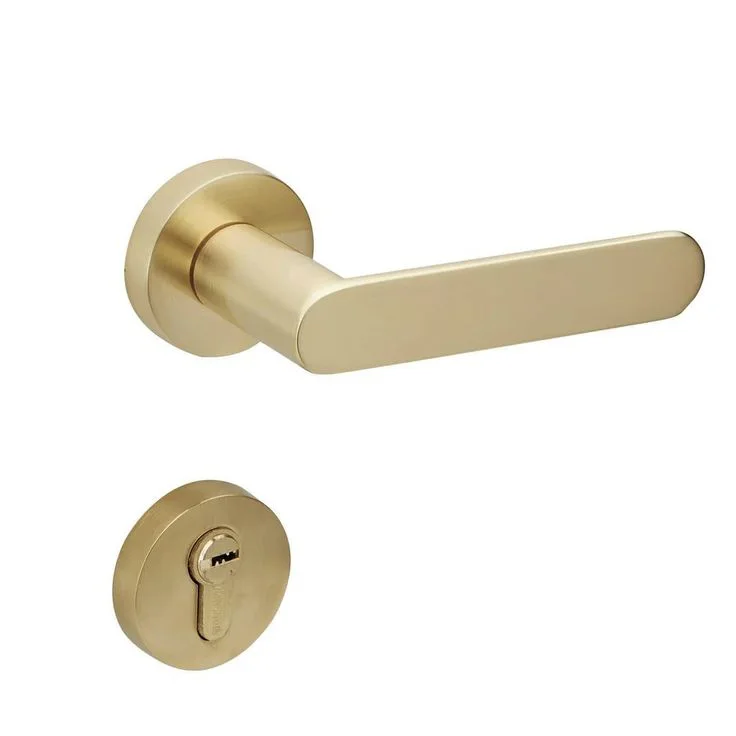
Lever Door Handle
A lever door handle is easy to operate and ideal for everyday use. Its modern design makes it a popular choice for homes and offices.
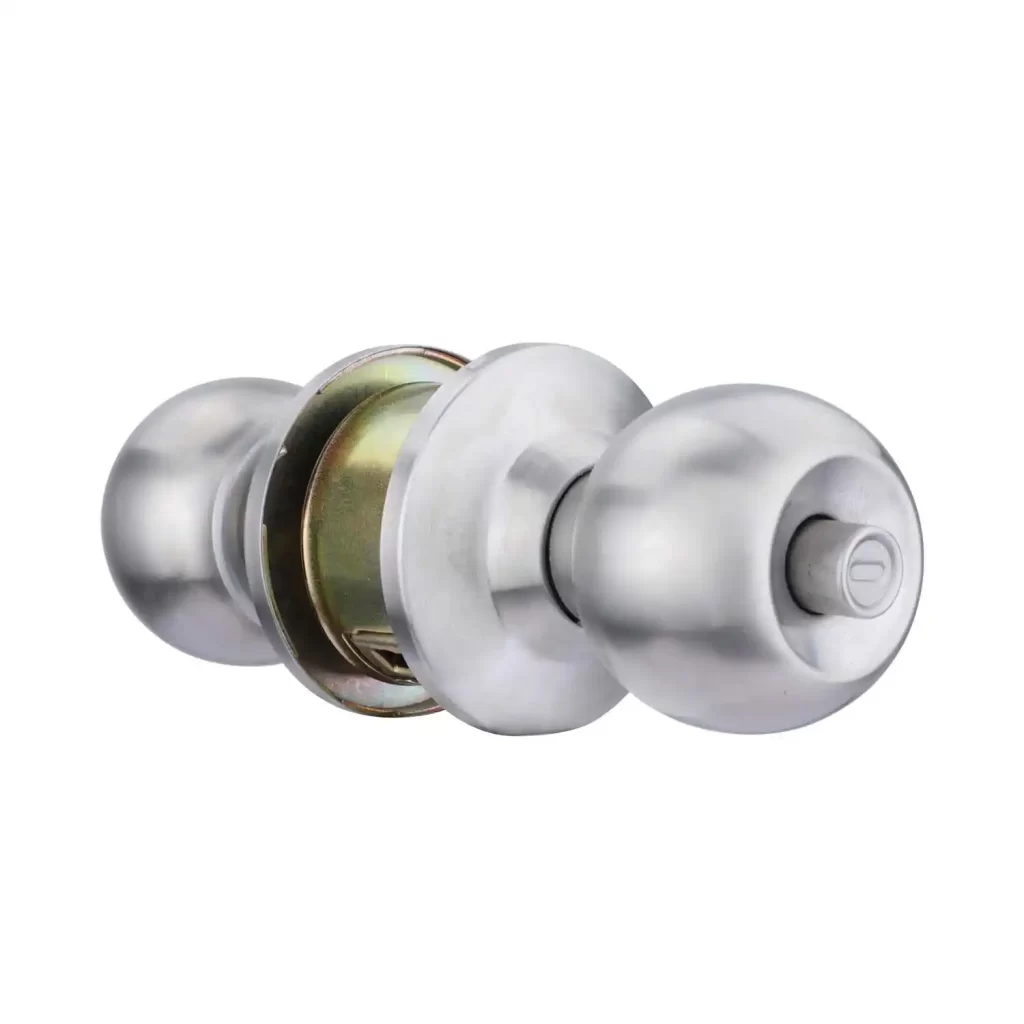
Round Door Knob
A round door knob is a traditional option that opens with a simple twist. It’s affordable, stylish, and easy to install.
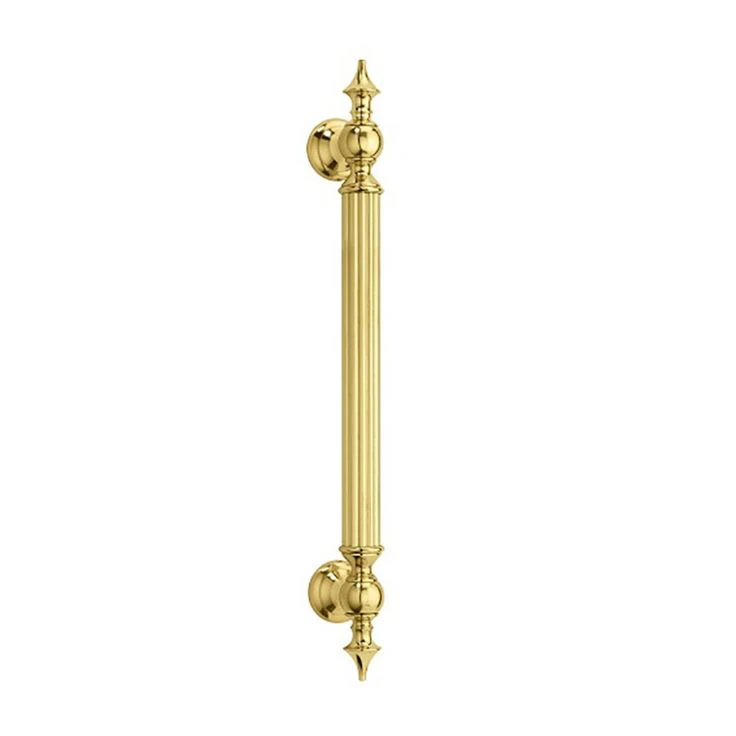
Entry Door Handle
An entry door handle is designed for exterior doors and includes a secure door lockset for added protection
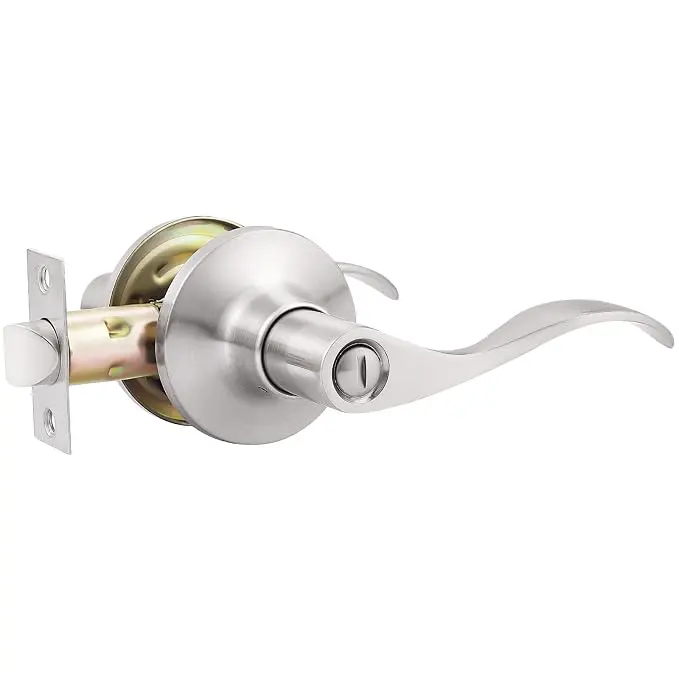
Privacy Door Handle
A privacy door handle features a built-in lock, making it ideal for rooms that require privacy.
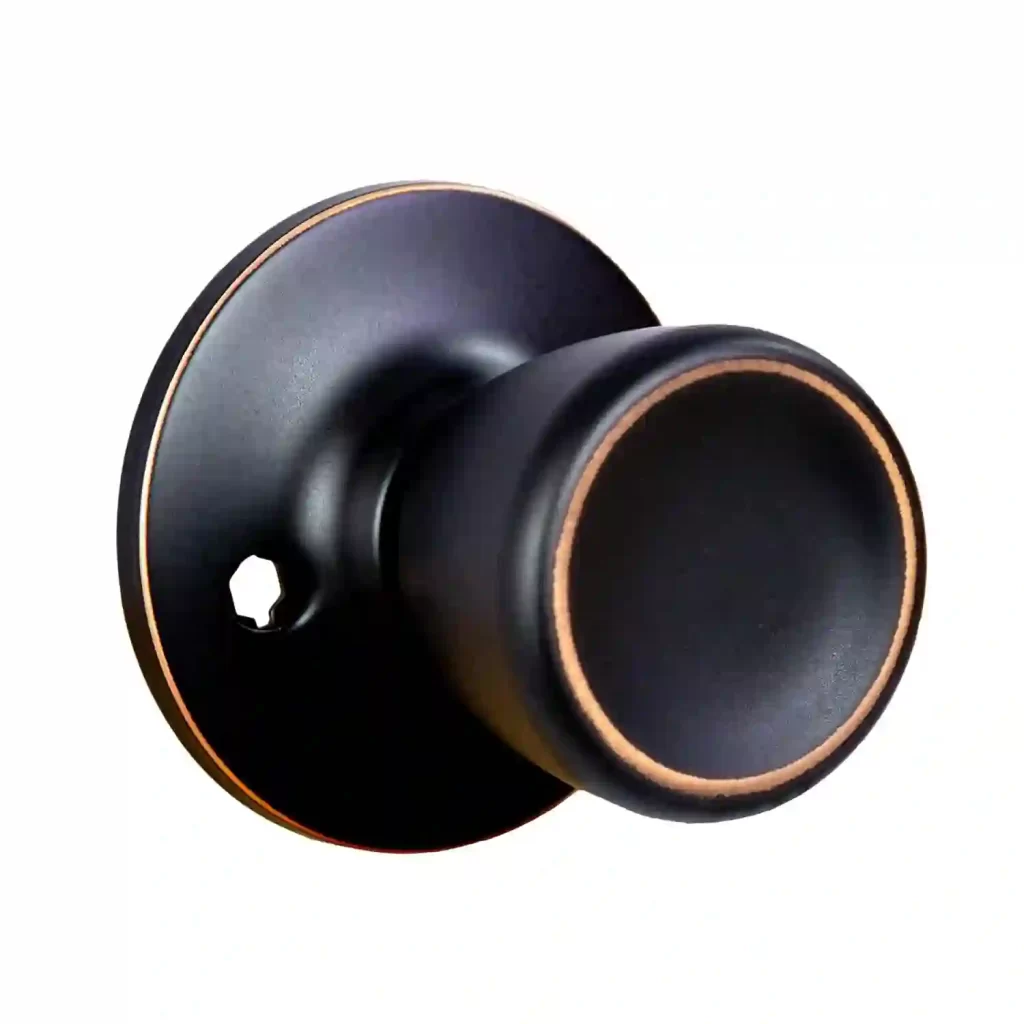
Dummy Door Handle
A dummy door handle is a fixed handle used for decorative purposes and does not include a locking mechanism.
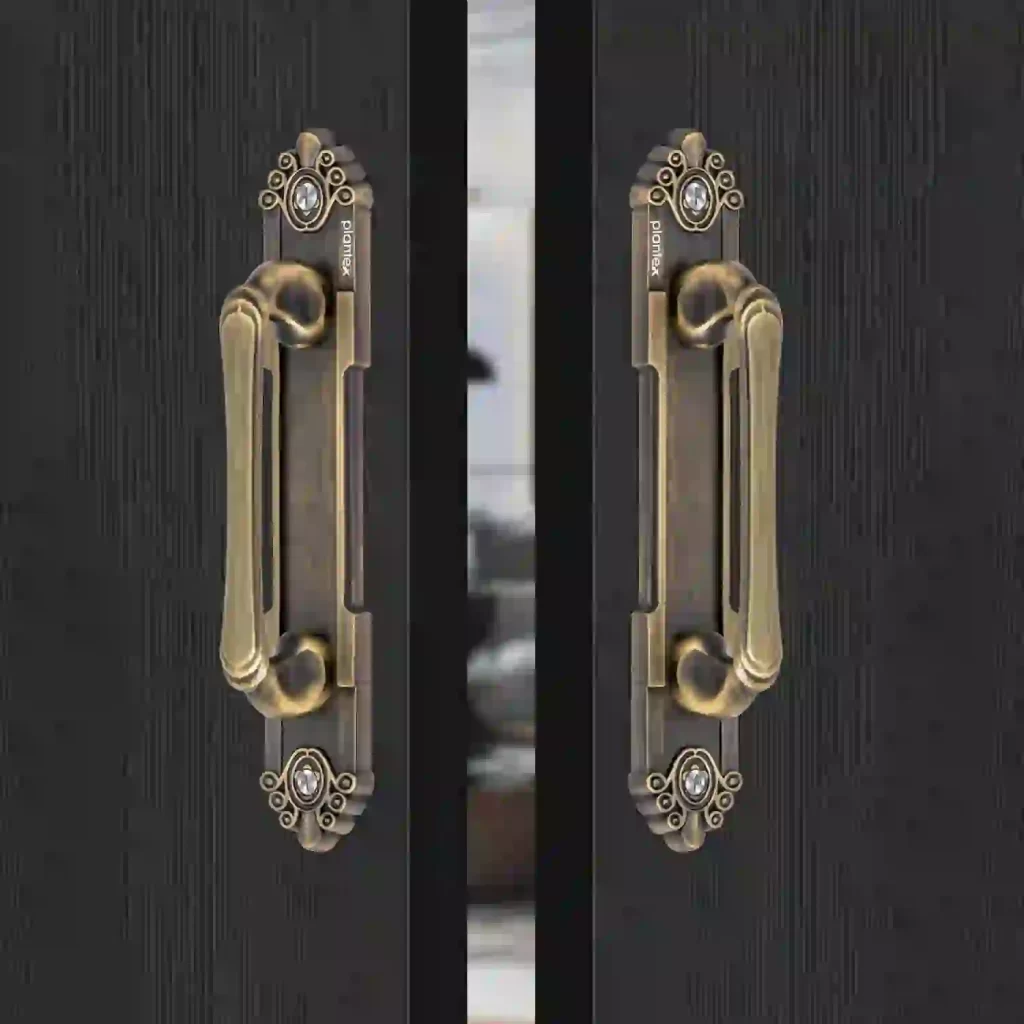
Entry Door Handle
An entry door handle is designed for exterior doors and includes a secure door lockset for added protection



Leave a Reply